In prior versions of Visual Studio, a temporary certificate file is automatically generated to sign the UWP package. The temporary certificate is named App_TemporaryKey.pfx. If we associate the project with a title on Dev Center, we will also get an App_StoreKey.pfx that corresponds to our Dev Center account. The pfx file may or may not be included in your Git repo should you choose to publish it to places like GitHub. It is generally recommended not to include these two files by adding them into .gitingnore. However, in Visual Studio 2019, the store key certificate is no longer included in the project folder, and it will not be generated even if you re-associate your project with Dev Center. This change is not well-documented and it may cause problems if you are using any CI services like Azure DevOps.<
I encountered this mysterious problem a while ago when I decided to put one of my UWP projects on Azure DevOps and use Azure Pipelines for CI. The build keeps failing despite not having any problem locally. The log shows:
1 | ##[error]C:\Program Files (x86)\Microsoft Visual Studio\2019\Enterprise\MSBuild\Microsoft\VisualStudio\v16.0\AppxPackage\Microsoft.AppXPackage.Targets(4640,5): Error APPX0104: Certificate file 'App_StoreKey.pfx' not found. |
The log is rather self-explanatory: it was trying to locate a certificate file but failed. In the documentation for Azure Pipelines, there’s a short note.

So the first thing I tried is to generate a new certificate. We can use PowerShell cmdlets, which is the hard way. We can also just use Visual Studio to help us generate the certificate.
Open the package manifest Package.appxmanifest and click on “Packaging”. Then click the button “Choose Certificate..”.
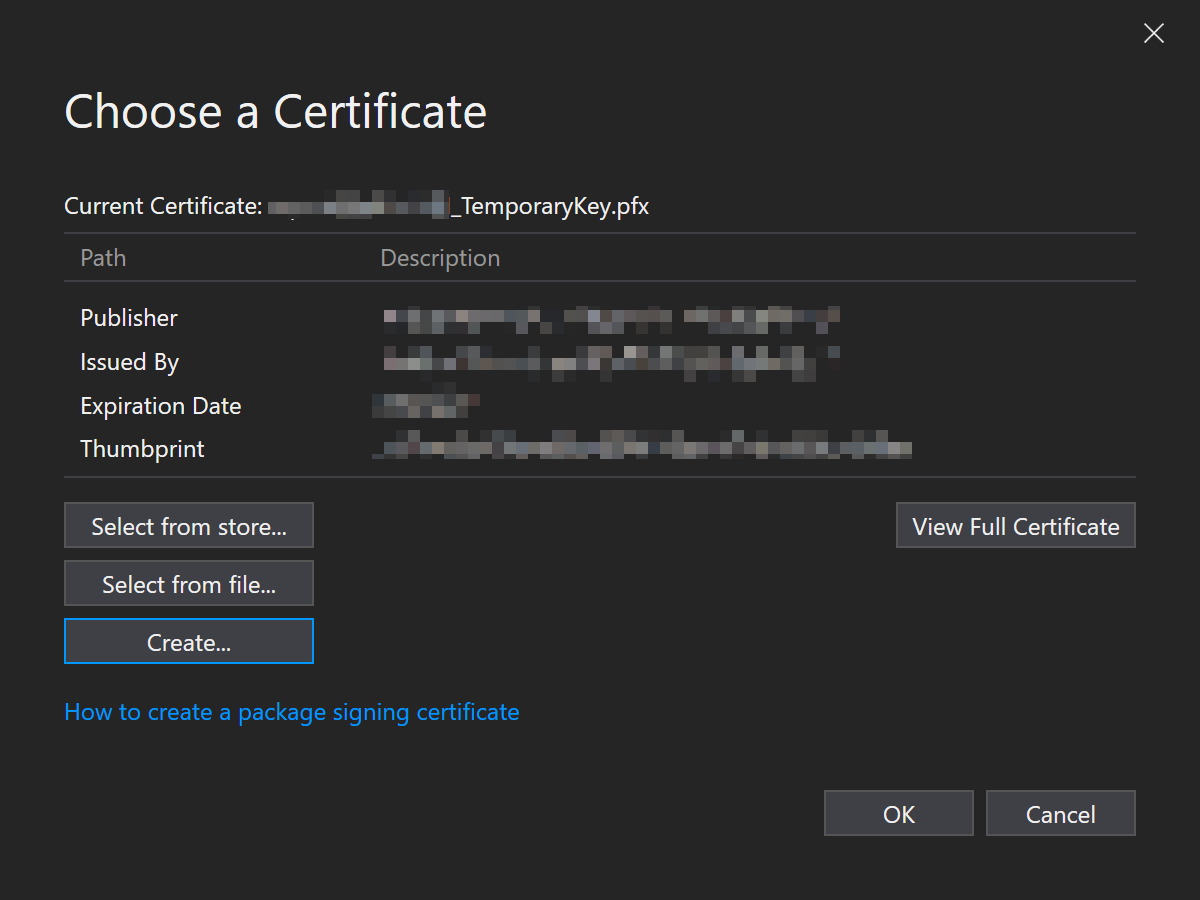
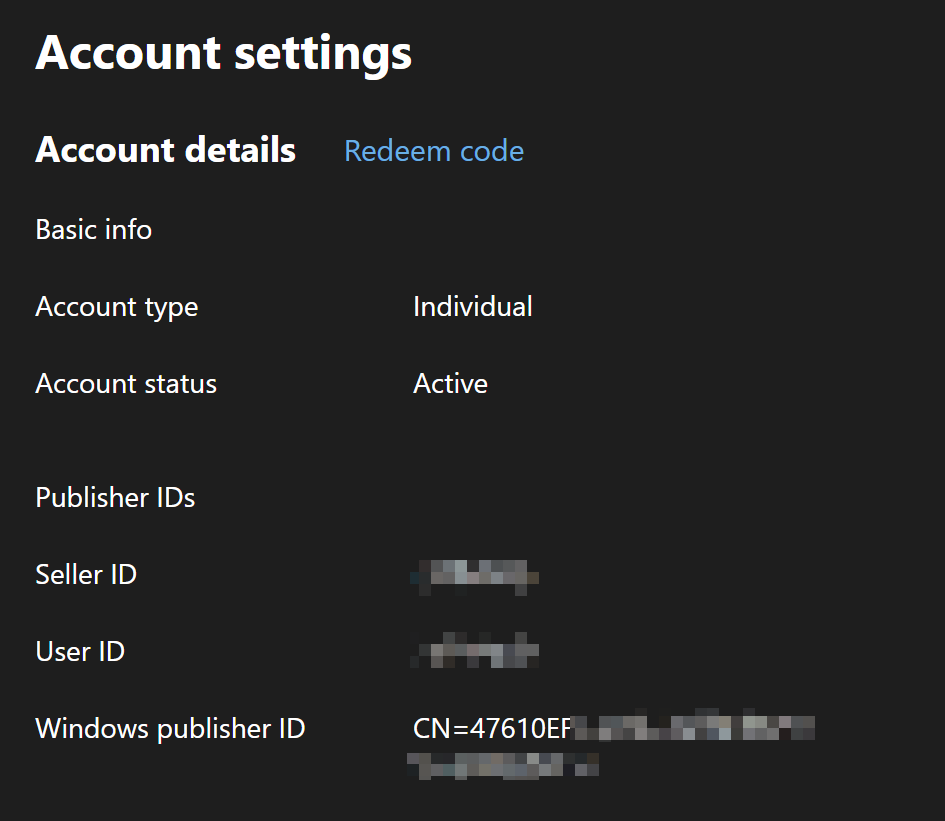
Click “Create” to manually generate an App_TemporaryKey.pfx file in your project folder. It is very important to choose the correct Publisher Common Name, especially if you want to submit the build to Microsoft Store. The CN can be found on Dev Center under “Windows publisher ID”. If you mistakenly use a wrong CN, the package family name of the created package would be different and you will not be able to submit the package to Microsoft Store.
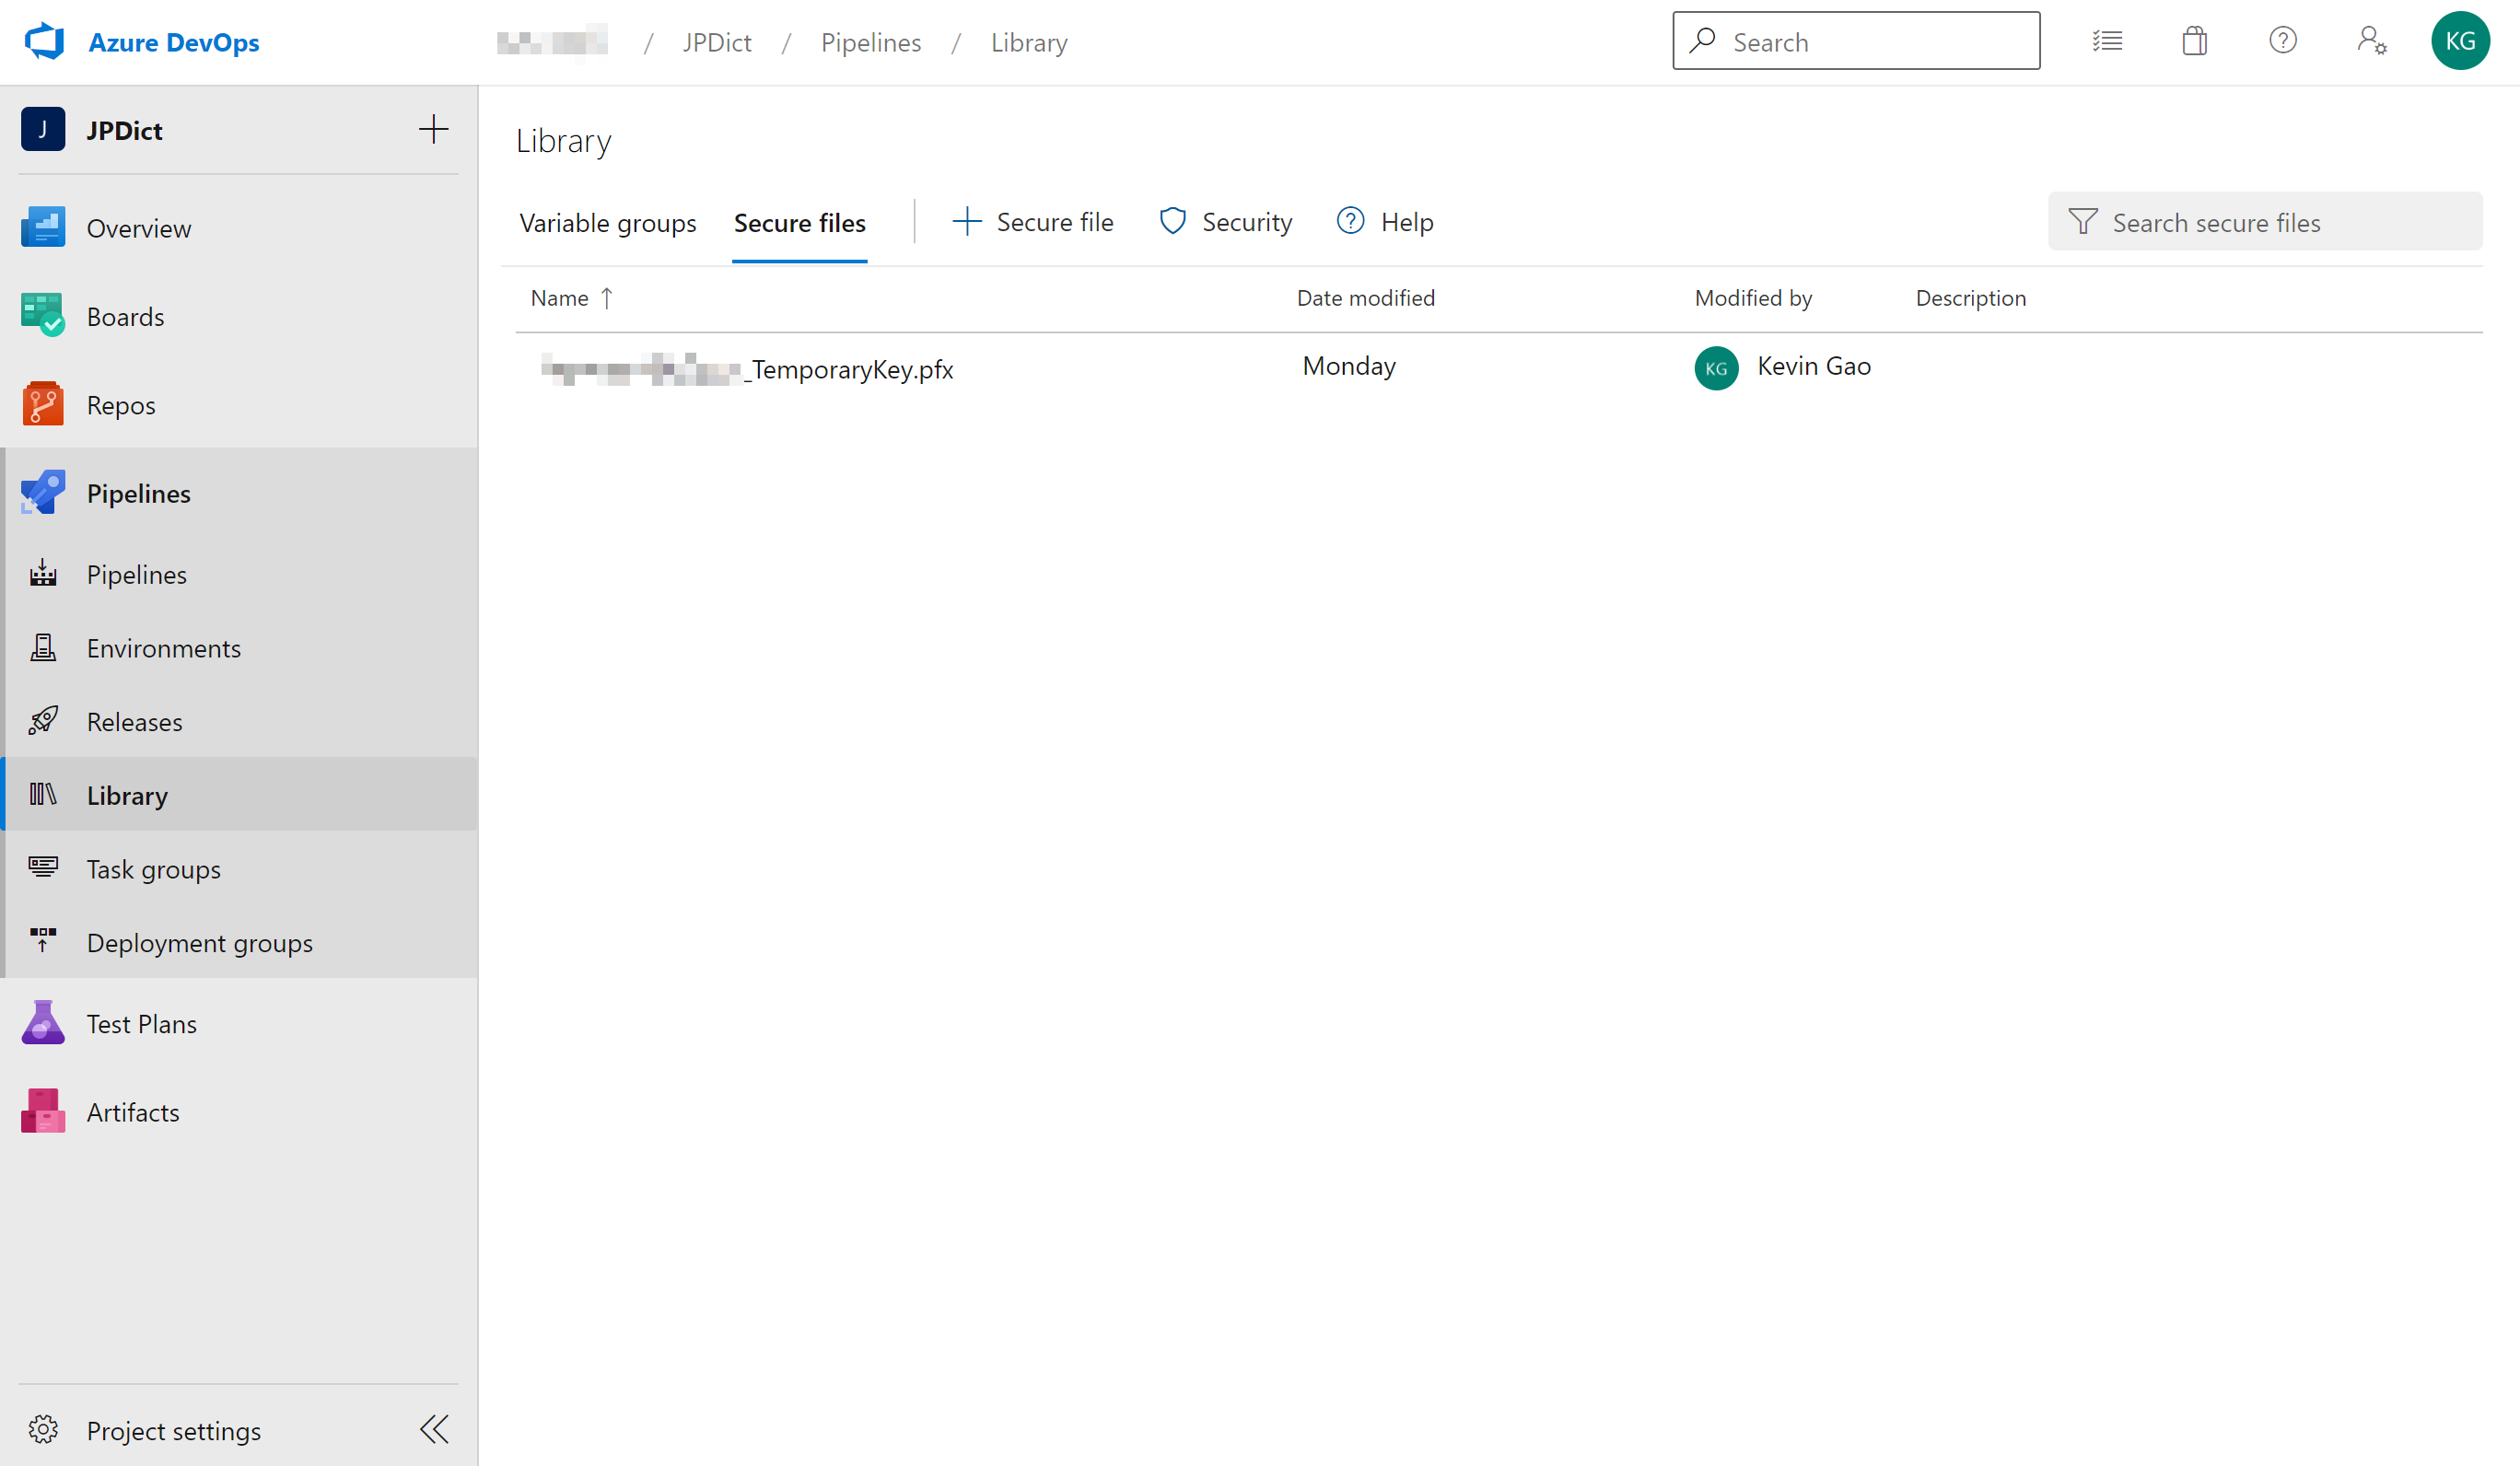
Now that we have the certificate ready, we want to provide it to the build and packaging toolchain. We can do the easy but risky way, which is by simply uploading it along with the rest of the project through Git. The recommended way, however, is adding this file to the secure files library on Azure Pipelines. The steps are pretty clearly described in this documentation But in a nutshell, you just upload the certificate and edit your pipeline like so
1 | - task: DownloadSecureFile@1 |
Everything should be fine at this point, except if your project is created using an earlier version of Visual Studio, which in my case, it is. As it turns out, earlier versions of Visual Studio would specify the name and thumbprint of the certificate. We have to remove those references from our project file or the build will still fail.
We need to find the csproj file for our project and open it in an editor. Make sure to unload the project first and reload it after we’re done. Look for these two lines of code
1 | <PackageCertificateKeyFile>App_StoreKey.pfx</PackageCertificateKeyFile> |
Because Visual Studio 2019 will no longer create the certificate for you, it won’t automatically change the project file for you either. We need to remove them manually. These two lines will ask the complier to look for a certificate with the specified name and thumbprint, and we don’t want this to happen. In fact, as you can see, these two properties are now passed to the build as arguments instead of hard-coded in the project file. Doing so will also give us more flexibility.